The simplest way to quilt a patchwork top is to stitch straight lines to form a grid pattern over the whole surface. This does not need free machining, but is easily quilted by hand, or by using a walking foot on the machine, which automatically gives an even stitch length.
As the lines go straight across from one edge to the other, there is no need to worry about starting and finishing invisibly – just begin stitching on the spare wadding just outside the patchwork. Another advantage for a large quilt is that it does not need to be constantly turned around under the machine.
There are a number of grid patterns that can be used: straight, diagonal (sometimes called cross-hatching or square diamonds), double diagonal or hanging diamonds.

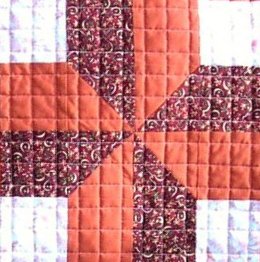
The quilt below is another version of Northern Lights, quilted with a straight grid parallel to the block sides:
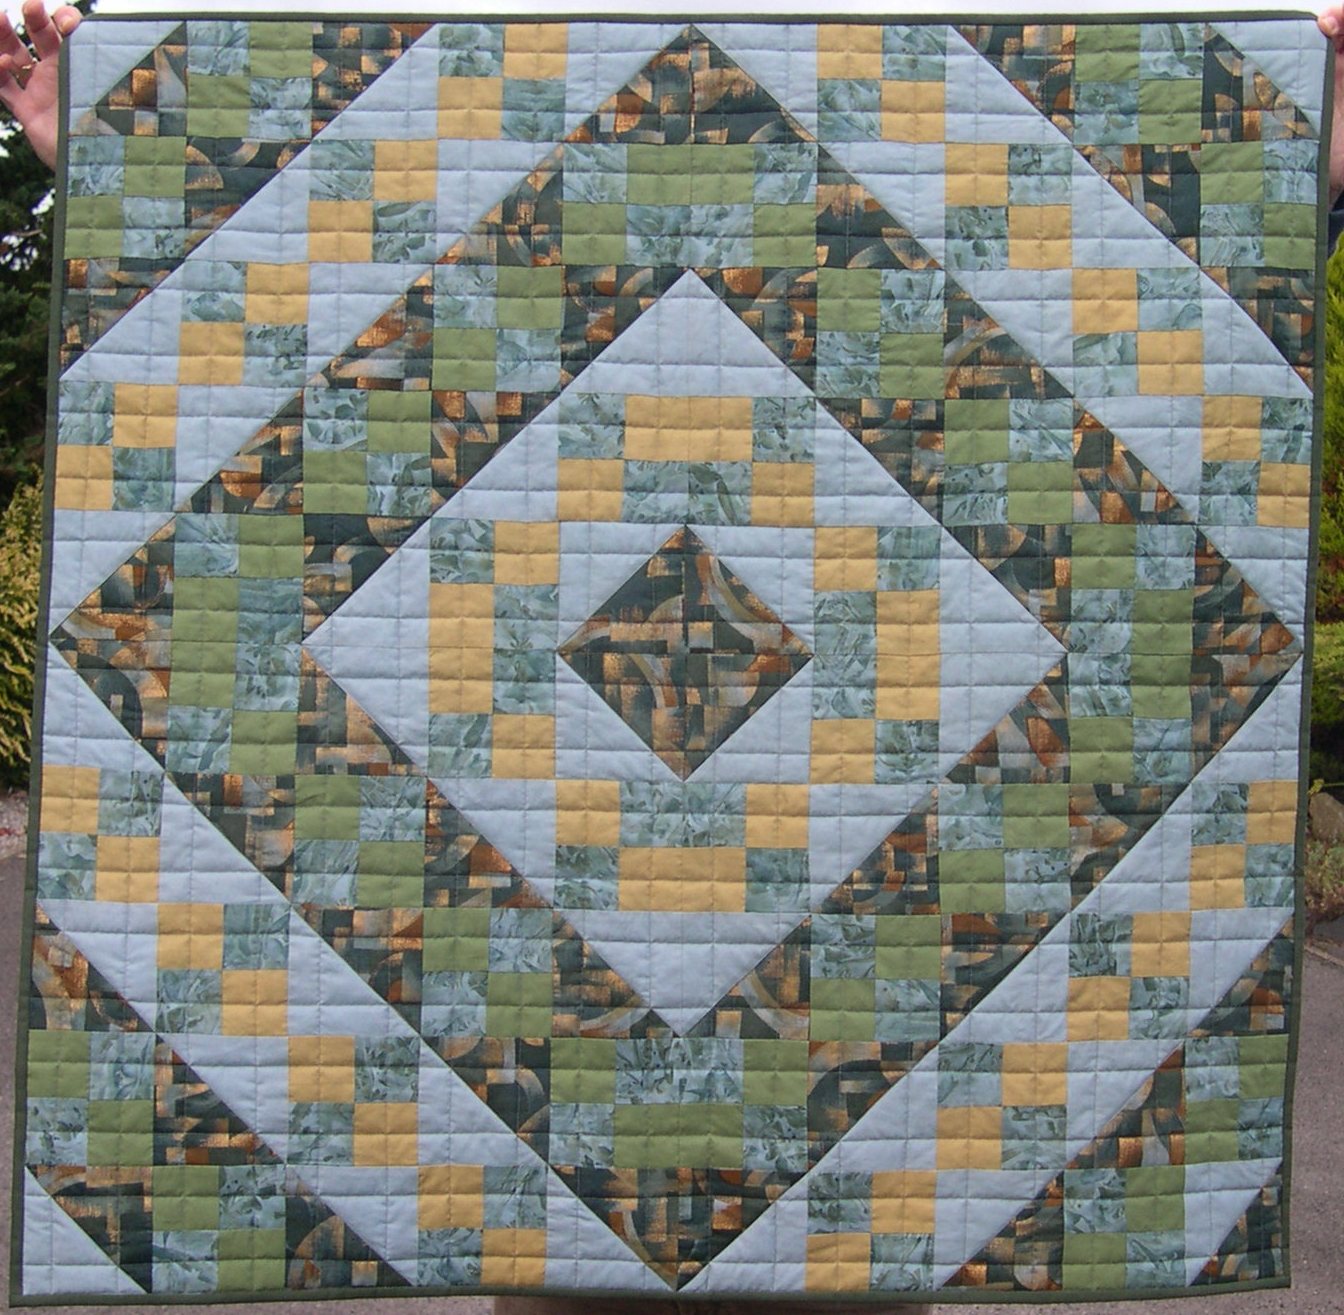
Isn’t it surprising what a difference the direction of the grid makes?
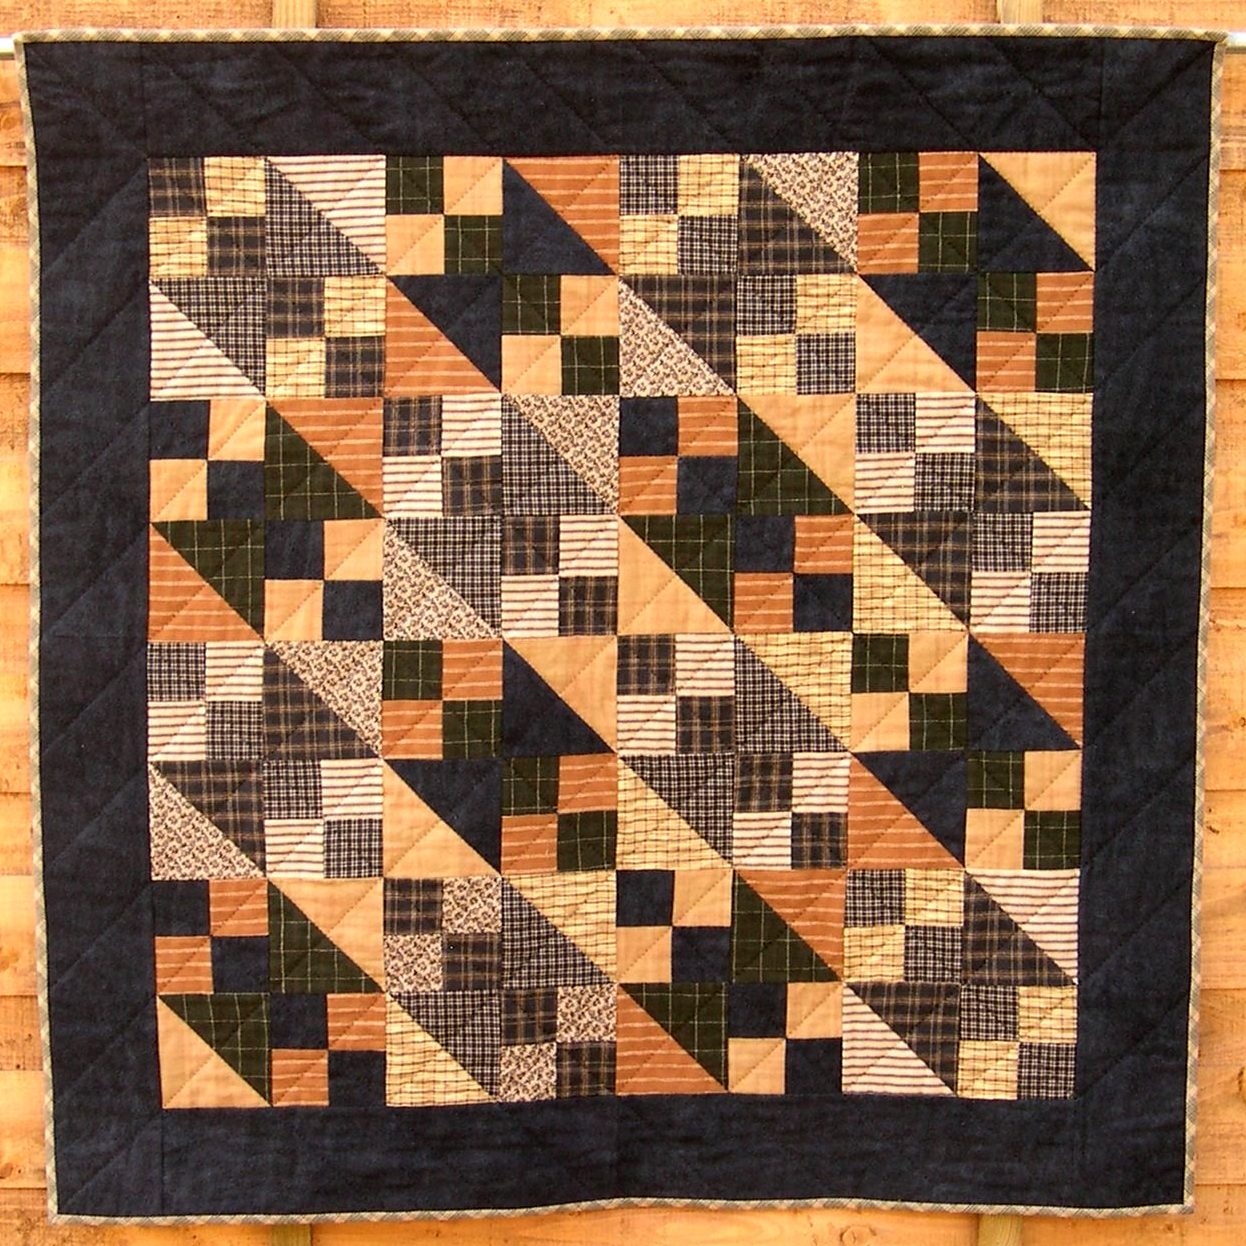
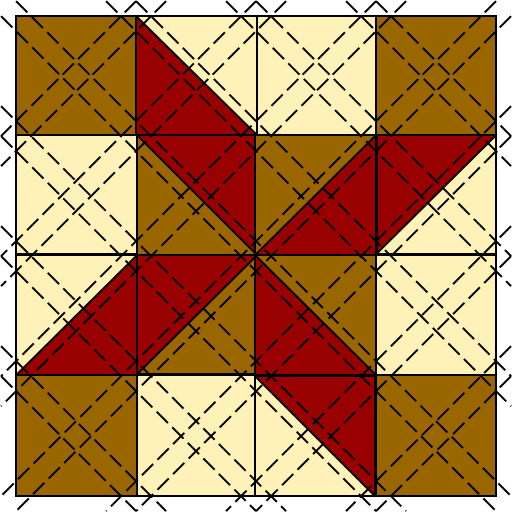
Like the first Northern Lights, this Nelson’s Victory quilt has a diagonal grid:
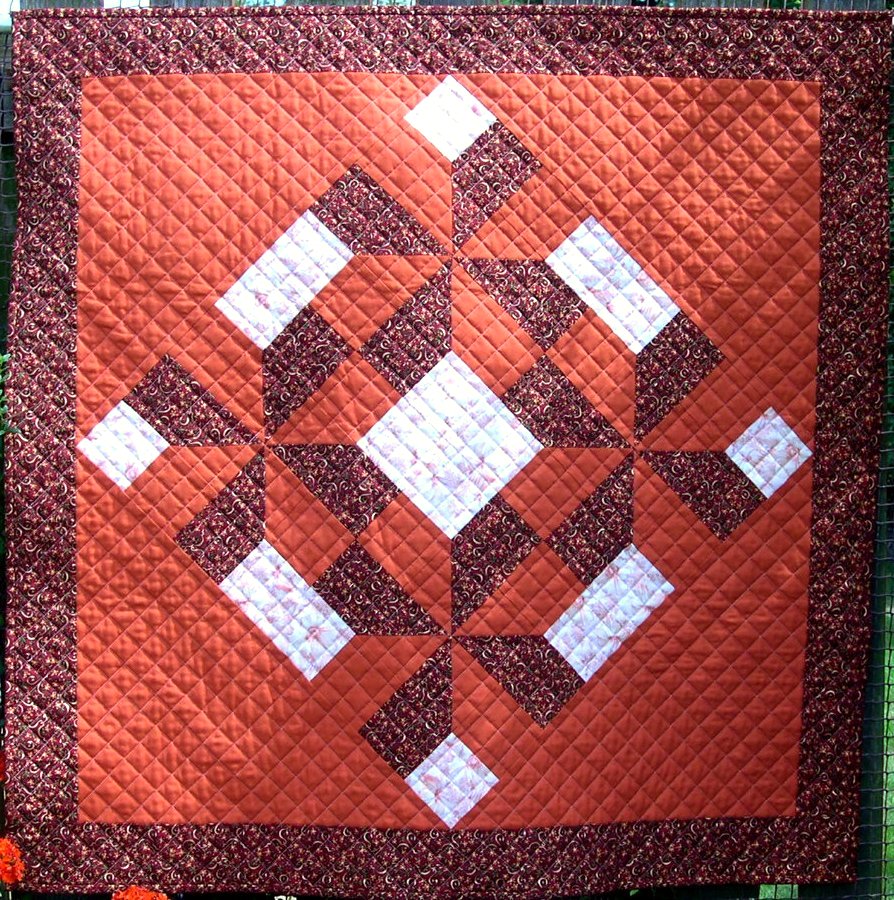
However, this grid is better designed, and was easier to stitch – I wonder whether you can spot why?
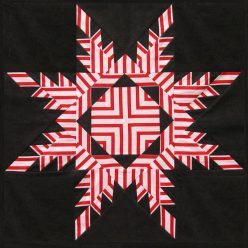
On the first Northern Lights, the grid lines were placed instinctively across the diagonal of the block – as I discovered, this meant that I had to stitch through the seam junctions, where there is extra bulk from all the seam allowances.
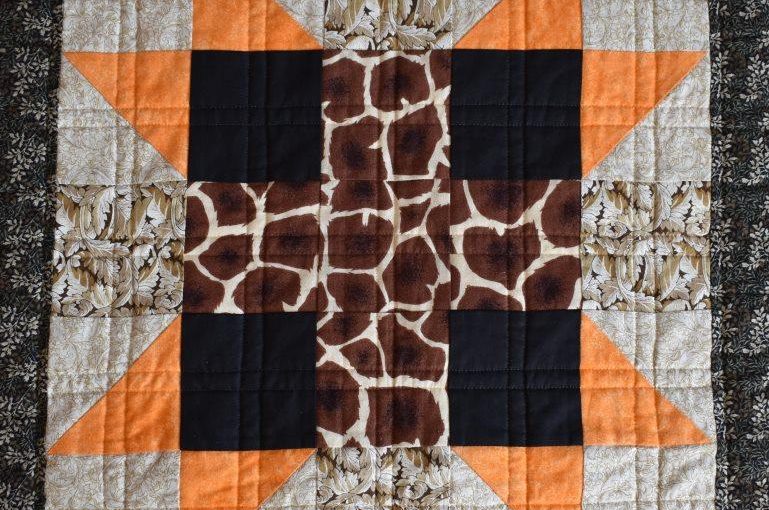
The same mistake has been made on this Water Wheel block – going through all these corners is likely to make your stitching line wobble, whether you are quilting by machine or hand. Here it also means that you need to “stitch in the ditch” along some diagonal seams, which is surprisingly difficult to achieve perfectly on the machine.
So, DON’T place the grid lines like this!
Positioning the Grid
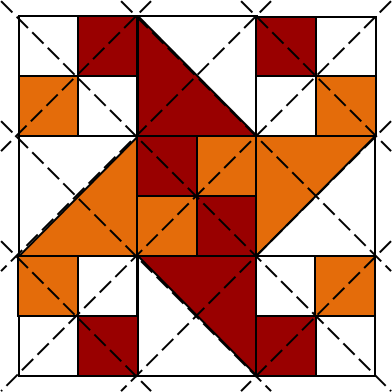
It is better to move the quilting lines to a position where they avoid seam allowances as far as possible as shown on this Shoo-Fly block:

Can you see that I did this for Nelson’s Victory and also for the second Northern Lights quilt?
Much easier to stitch!
If you would like to learn how to work out the best spacing and placement of grid lines like this for any block of any size, a technique pack on Grid Quilting is available in my online Shop. It includes ten different A3 size blocks to print out and practice on.
Double lined Grid
A pleasing effect can be obtained with a double grid – and this can be surprisingly easy to mark.
One good option is to go down the middle of each smaller unit as shown on this straight grid:
A double line looks good on a diagonal grid too – but you still need to avoid all those bulky seam junctions. The download pack includes instructions on how to plan this on paper.
One easy no-marking option used after layering the quilt, is to use masking tape.
- Fold a strip of masking tape in half lengthways, with the sticky side outside. Press in the crease with your fingers (this is a bit awkward; it’s easiest to do this on a table).
- Place the crease along the seam junction line that you are trying to avoid, and then unfold and stick down the masking tape.
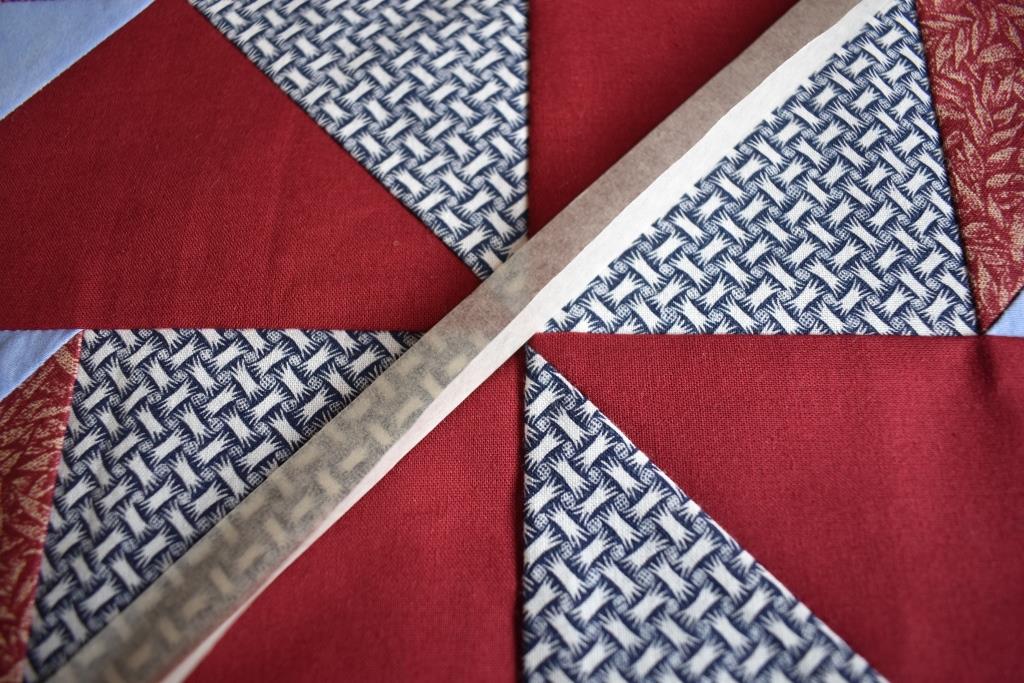
This automatically places the masking tape centred over the seam, so that you can stitch along both sides to create your double line.
Can you see here how this will avoid the bulky centre of this pinwheel where all the seams meet?
Hanging Diamonds grid
A true diamond grid is another possible design, and would suit a patchwork design of the same underlying geometry (such as hexagons), but it is more difficult to mark due to the 60 degree angles, and actually will look odd on most block designs.
A better alternative for anything based on a square grid is hanging diamonds, which is unusual but very effective. This uses lines parallel to the blocks, and also at 45 degrees.
Look carefully – can you see that there are vertical quilting lines just to the right of the block seam lines, and more regularly spaced lines parallel to this?
Then a second set of diagonal lines (also placed to avoid the seam junctions) completes the hanging diamonds grid.
Full instructions for drawing all of these grids can be found in the Grid Quilting techniques pack, which is available in the online Shop for £5. You can then use these techniques to plan the perfect grid to quilt on any of your projects.
The pack also includes advice about marking and stitching grids successfully.
If you like the idea of planning your own quilting designs, why not have a look at the Drafting Cable Grids pack?
And if you like hand quilting but struggle to get small, even stitches, you might like to see my video on the Quilting page showing how to do the Rocking Stitch.