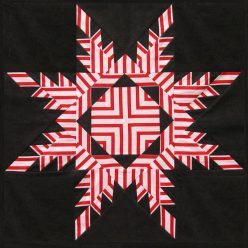
This little Mug Rug is a really good starter project if you would like to try using striped fabric. Although it does need careful placing of the stripes to achieve the swirling vortex effect, it doesn’t require any matching of the stripes.
It is made using mosaic piecing (often called English Paper Piecing, or just EPP). Controlling the position of the stripes by piecing over papers is a good way to get precise results, particularly on small pieces.
You can buy a complete kit including this cheerful red and yellow fabric, together with everything else required, from my online Shop for £8 (UK) or £12 (USA) – or just buy the £3 download pattern for the full instructions & templates, to use with your own fabrics.
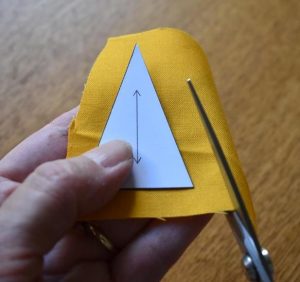
First, card pieces are cut out to exactly the shape and size required, and fabric is cut out with a seam allowance.
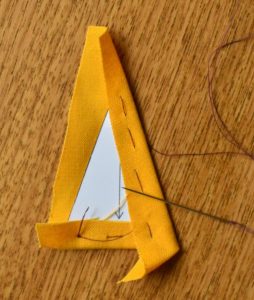
Then, the fabric is wrapped round and tacked in place all round.
Although some people use fabric basting glue for this temporary hold nowadays, or just tack through the seam allowances, I still prefer to tack right through the card for this project, as I find that I can control the position of the fabric exactly – this is particularly important for the striped fabric in this project.
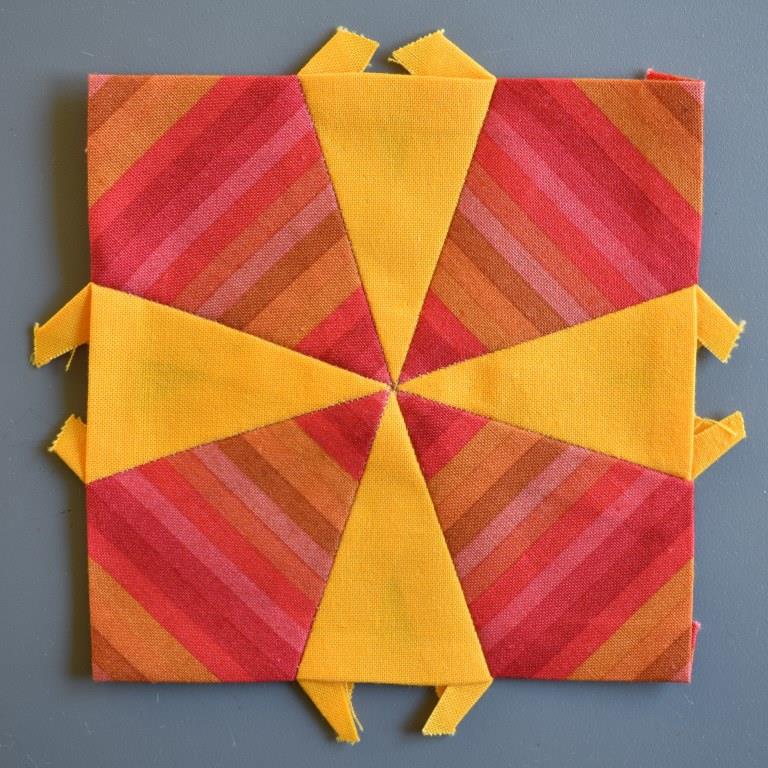
The swirling effect obtained from the striped fabric depends on all the pieces having exactly the same portion of the striped fabric at the centre.
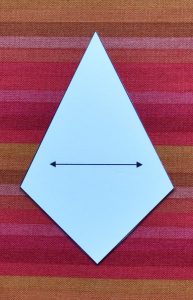
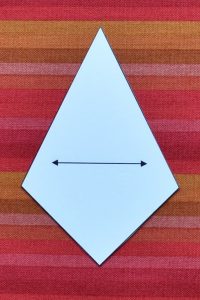
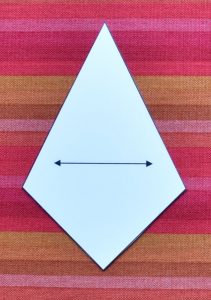
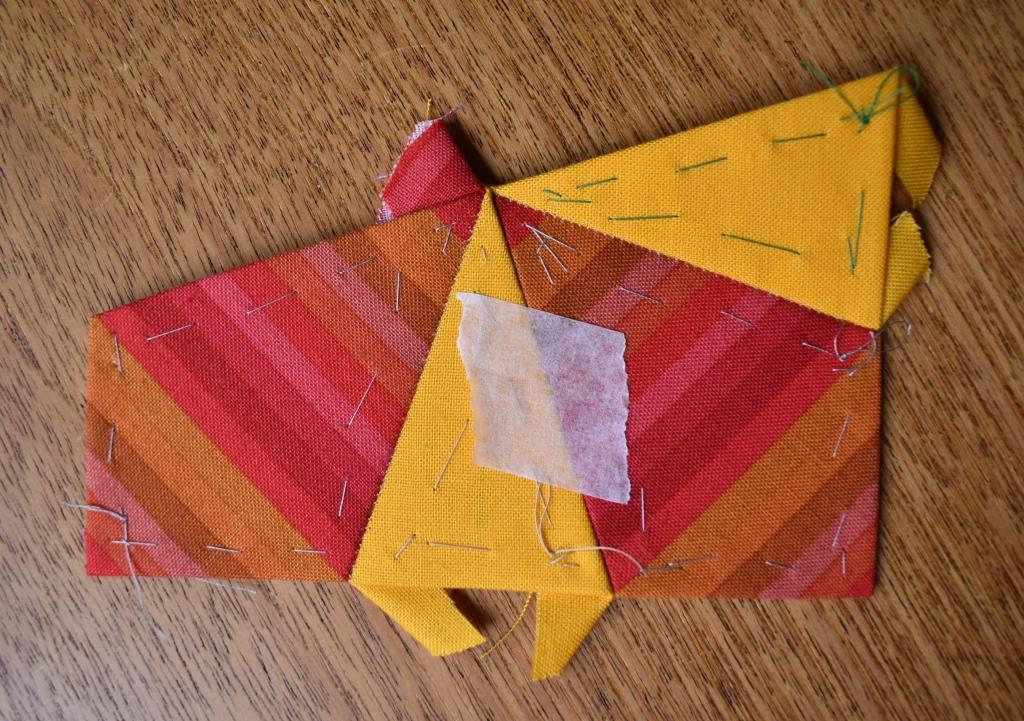
Left to chance, this won’t work – can you see that although the same striped fabric is used for each of these three pieces, the colour at the tip will be different for all of them?
The trick to getting them all the same is to cut a rectangle of the striped fabric with the stripes running parallel to the longer edge. Then line up a recognisable part of the card with the same stripe each time.
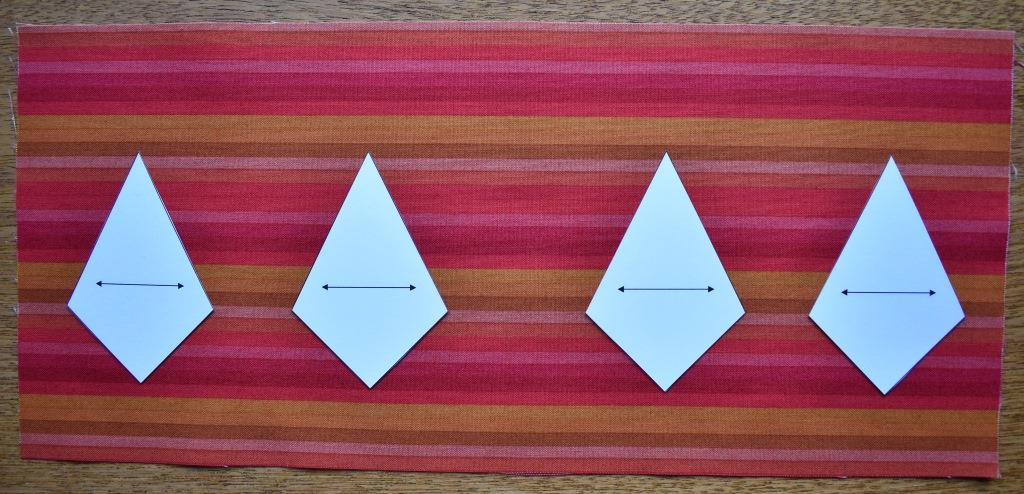
Here, I have lined up the points at the side of the kite shape with the junction between the pale pink and mustard stripes. Now I know they will all be the same.
If you choose to make this from my kit, enough fabric is included to make your own decision about the exact portion of the stripes to include – so your final mug rug will have a unique finished effect.
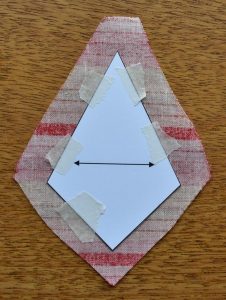
The card is kept in the correct position on the striped fabric using little pieces of masking tape like this:
The seam allowance is gradually tacked over the card, with each piece of masking tape being removed just before a section is tacked.
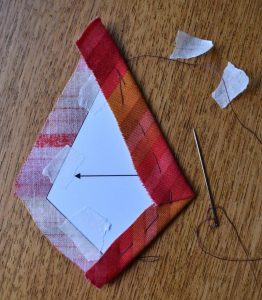
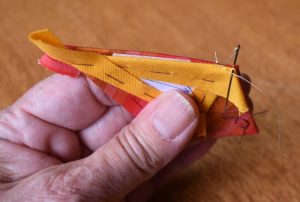
Don’t worry about tucking everything in neatly where there is a lot of seam allowance at the points, by the way – just leave the “wings” as they are.
They will tuck under each other during the assembly.
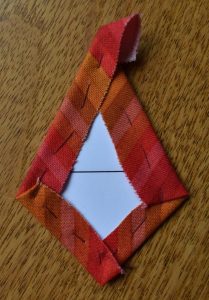
They must be lined them up carefully in their finished positions, with the tips positioned together. A piece of masking tape can be used to keep them lined up temporarily during the stitching step.
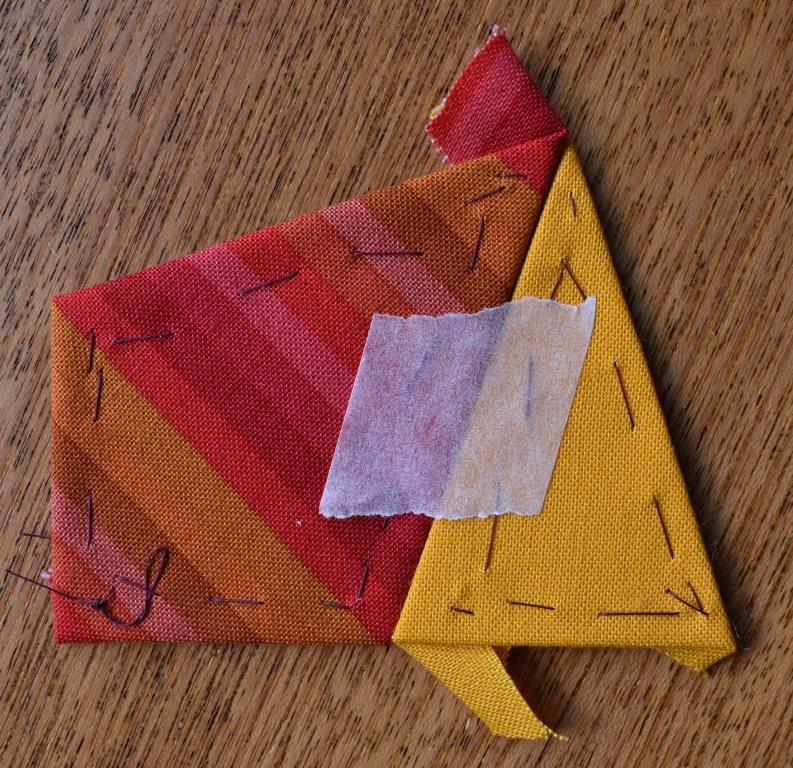
The yellow triangle is folded over so that the pieces are right sides together, and the edges are oversewn – you could use the “flatback” method here if you prefer.

I like to use quilting thread for hand piecing, as the coating reduces knots and tangles. My favourite is YLI Select, but it’s not easy to get hold of in the UK.
To avoid bulky stitching at the important points, I usually start a little way in from the corner with a little knot, stitch lightly to the corner, and then back over those few stitches, cutting off the knot when you get there.
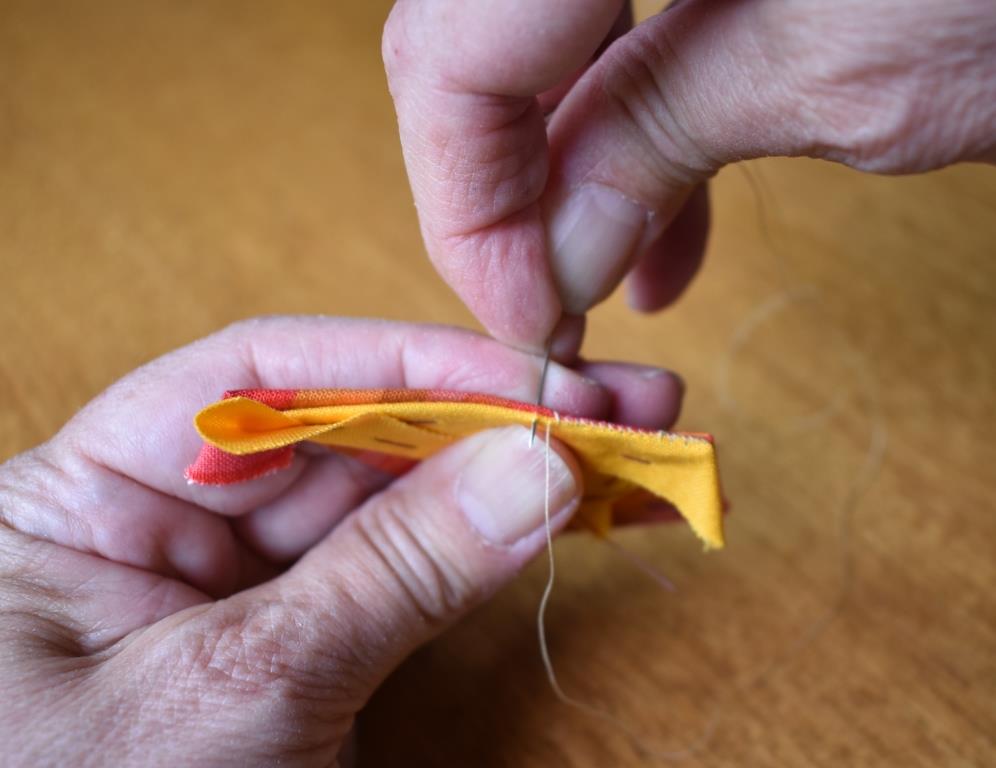
The oversewing is continued with small, neat stitches to the other end, remembering to remove the masking tape before that part is stitched!
When all four pairs had been prepared, two of these units are arranged so that the edges formed a straight line:
These are held in alignment with a scrap of masking tape again.
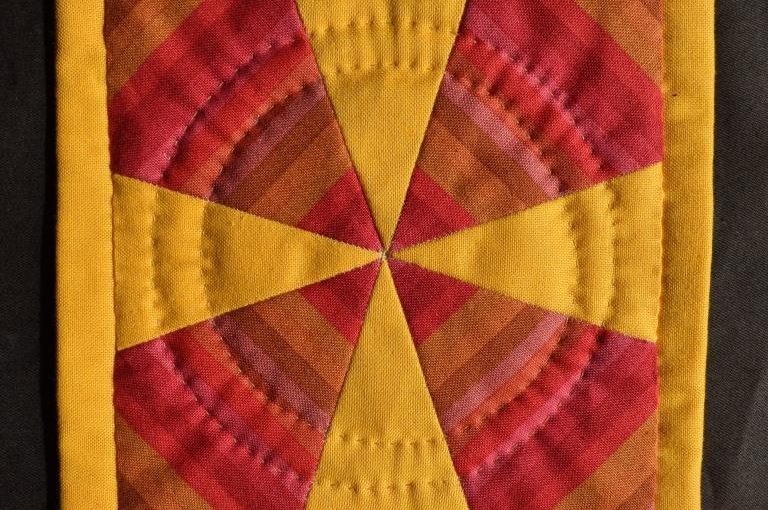
Finally these two larger units were stitched together to form a square.
This patchwork was then assembled with wadding and backing to make the little mug rug.
Quilted circles give it the finishing touch.
Would you like to make this? Click on the links below to go the my online Shop.
Or click to go back to other projects and guidance using striped fabrics