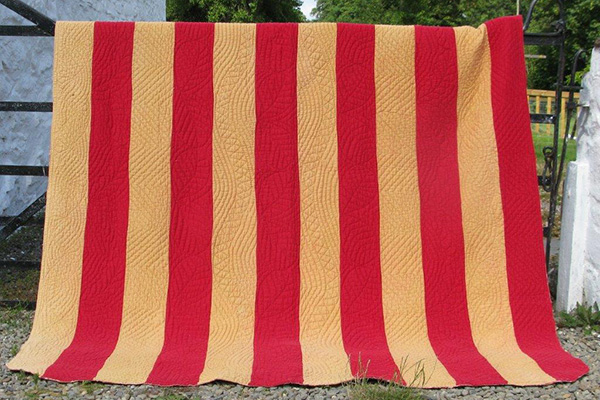
This North Country Strippy quilt has a bolder impact than many, due to the strong colour scheme, alternating between turkey red and warm sand cotton sateen.
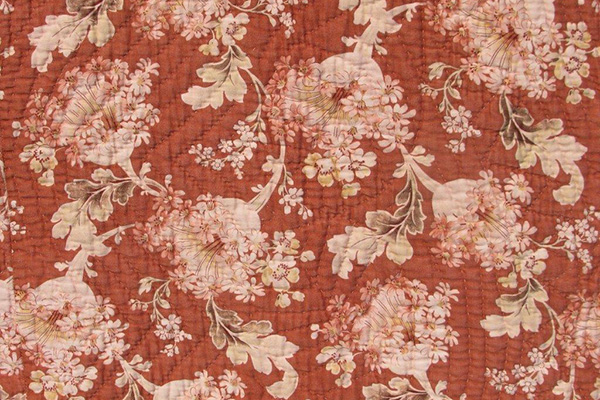
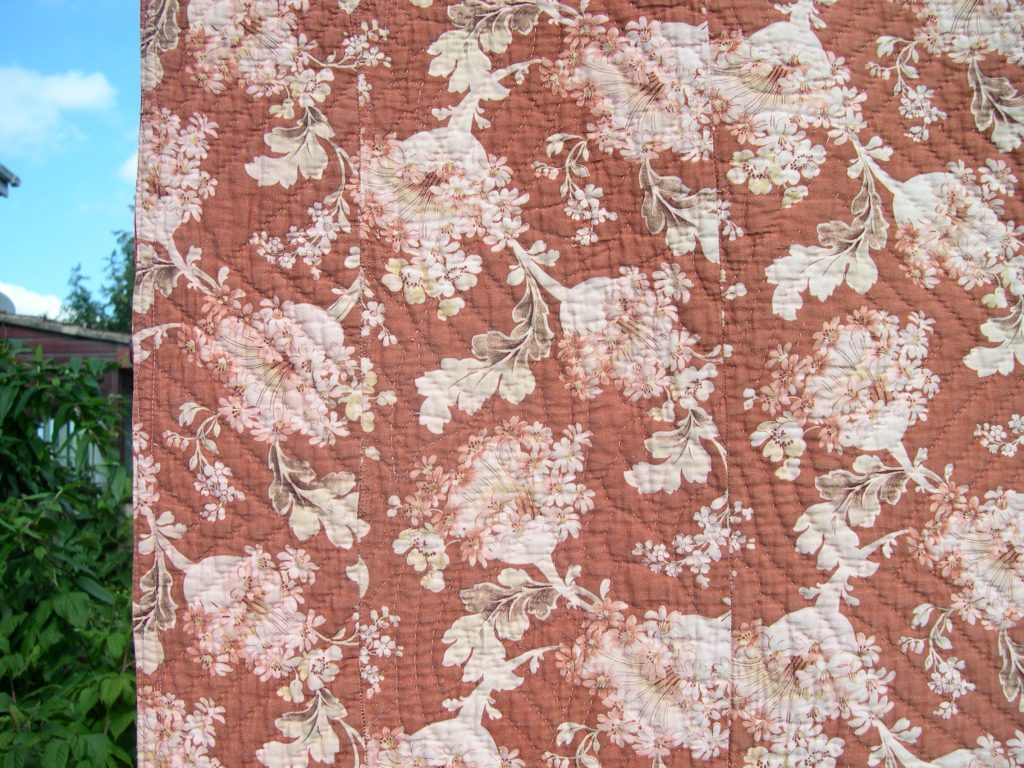
The fabric on the back is a design of pink & white flowers on a chestnut background.
I bought it from Jen Jones, who dates it to about 1900.
Unusually, it has an even number of strips, rather than the symmetrical odd number more commonly found.
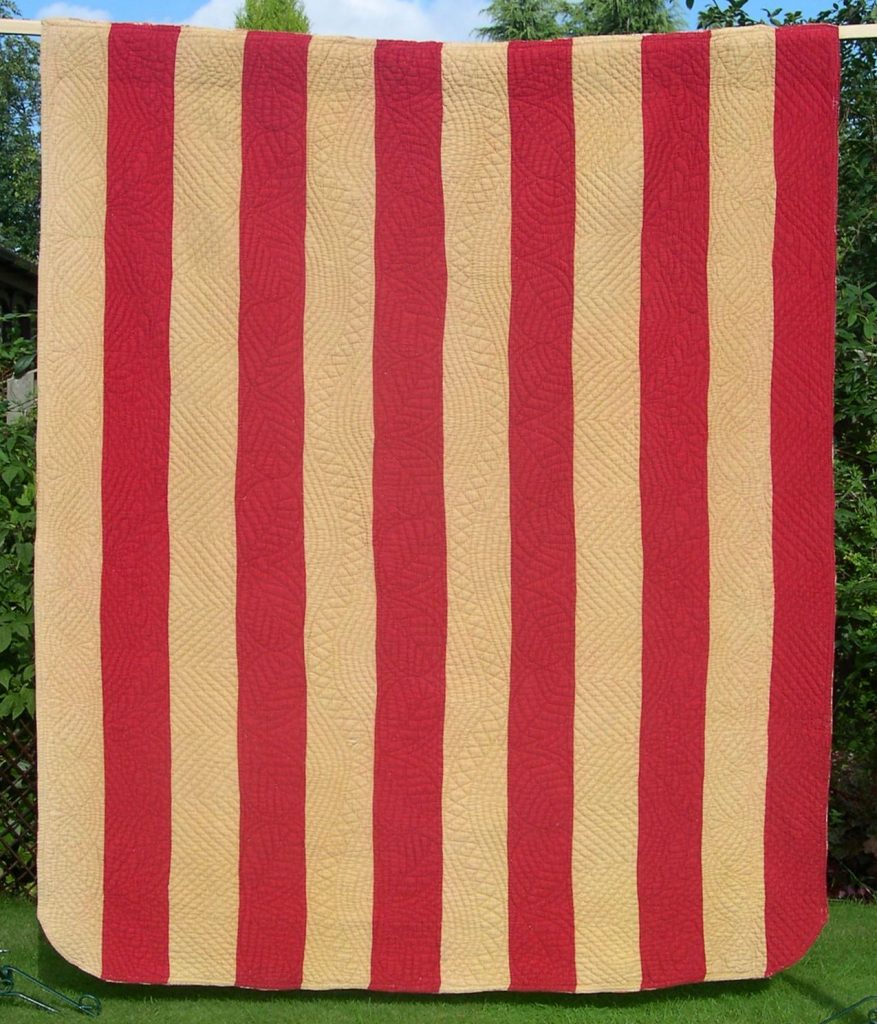
A careful study reveals that the last red strip on the right hand side was added as an afterthought – the original machined edge stitching has left traces of holes near the edge of the last yellow strip, just beyond the hand quilting; there is an extra strip of backing fabric added on the reverse,
and the quilting design on this last red strip breaks the otherwise symmetrical distribution of quilting patterns.
Maybe it was discovered that the quilt had “taken in” more than anticipated during the quilting, and was not big enough for the bed.
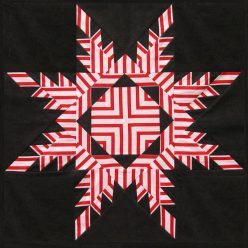
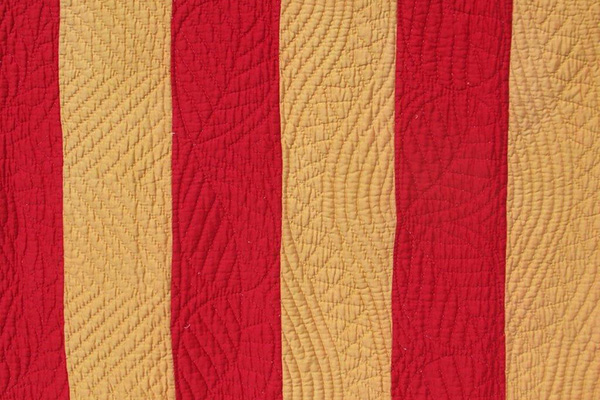
As is typical of North Country quilts, the quilting designs follow the strips.
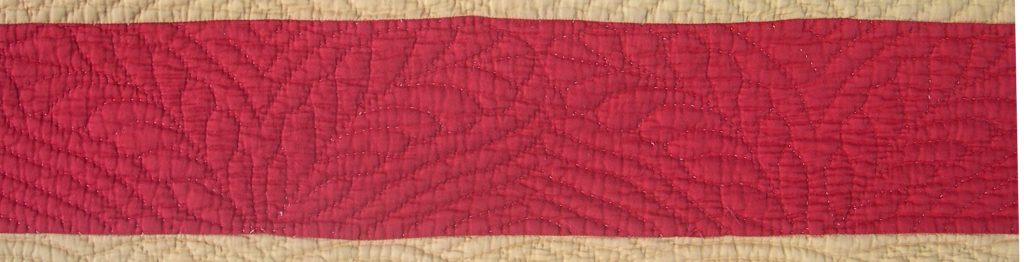
Three of the red strips, including the one originally at the centre, have an unusual design made of paired leaves. They are distinctively shaped, and though stylised to some degree, are obviously based on a real leaf. Unfortunately my botany is not brilliant, so I haven’t been able to categorically identify them; if anyone recognises them, please let me know.
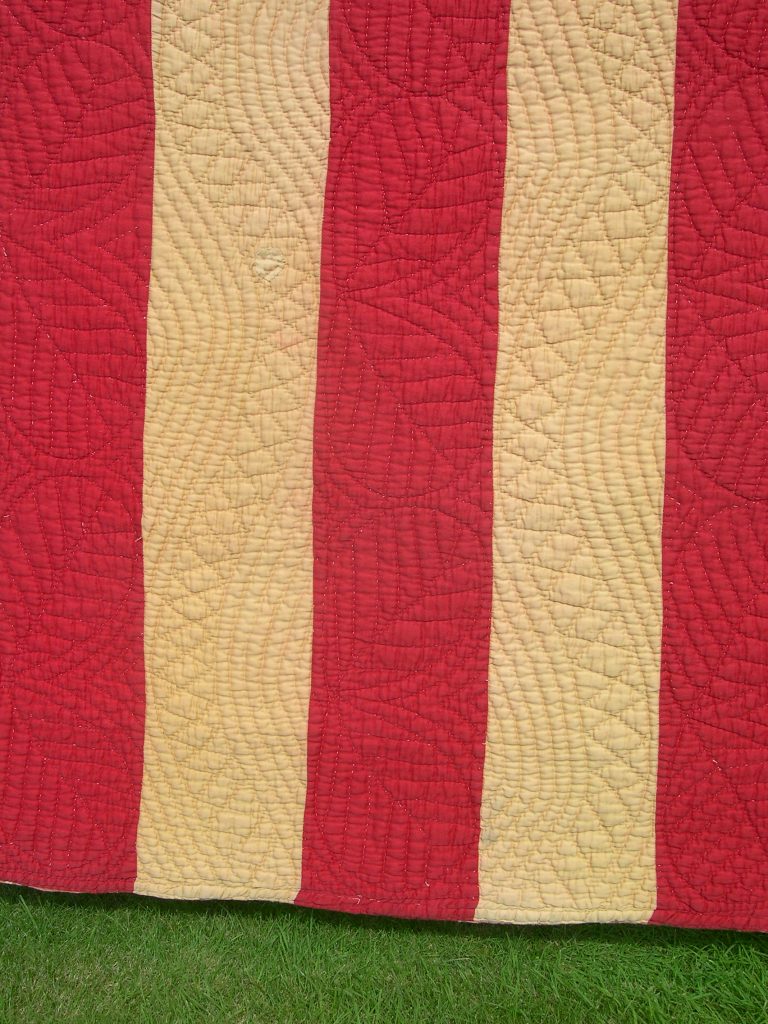
The designs were probably marked on using templates, as each of the leaves, for example, is the same size. However, although each strip starts with a whole leaf at the bottom, they end up being a little out of line further up the quilt, as the leaves were not always placed at exactly the same angle. If you look at the two mirror image “worm” designs on the yellow strips near the centre, you will notice the same inexpert touch in some places, although it’s back in line again at the top.

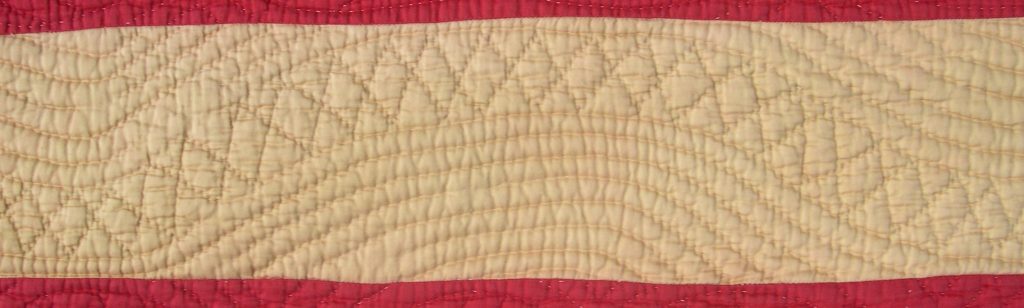
This wide undulating line design is known as a “worm”. Often found with a line of ovals known as “spectacles” down the centre, this quilter has chosen to fill hers with diamonds. The spaces at the sides are filled with echo quilting parallel to the curve.
Other quilting designs on the strips include chevrons:
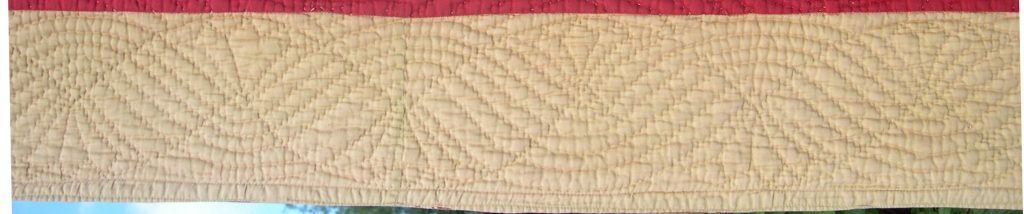
feather sprays (note by looking at the whole quilt photo that, as with the leaves, these are not mirror imaged when the design is repeated):
and a cable which includes alternating fans.
The stitching is even but fairly coarse.
The wadding is cotton, and the butted edge is finished with a line of machine stitching – if you look carefully at this, you can see that the rounded corners are a later modification.
If you would like to see more of my strippy quilts, then go to the general Strippy Quilt page, or to individual pages about the Pink and Cream Strippy, the Red and White Strippy or the Welsh double-sided Strippy.
Or, you can look at Wholecloth quilts, other patchwork Antique quilts or at the Quilting page to see how this technique is done.