What equipment do you need to start hand quilting? Well, there are lots of different views on this, so I will share what works for me.
Hoops
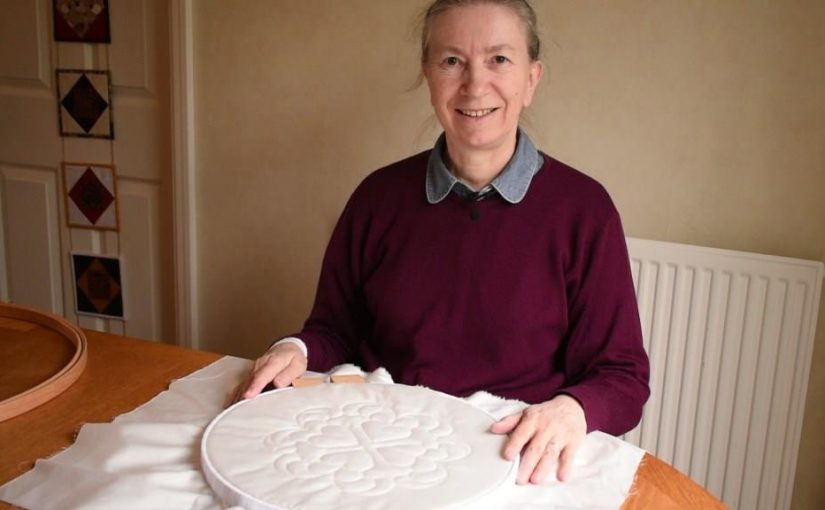
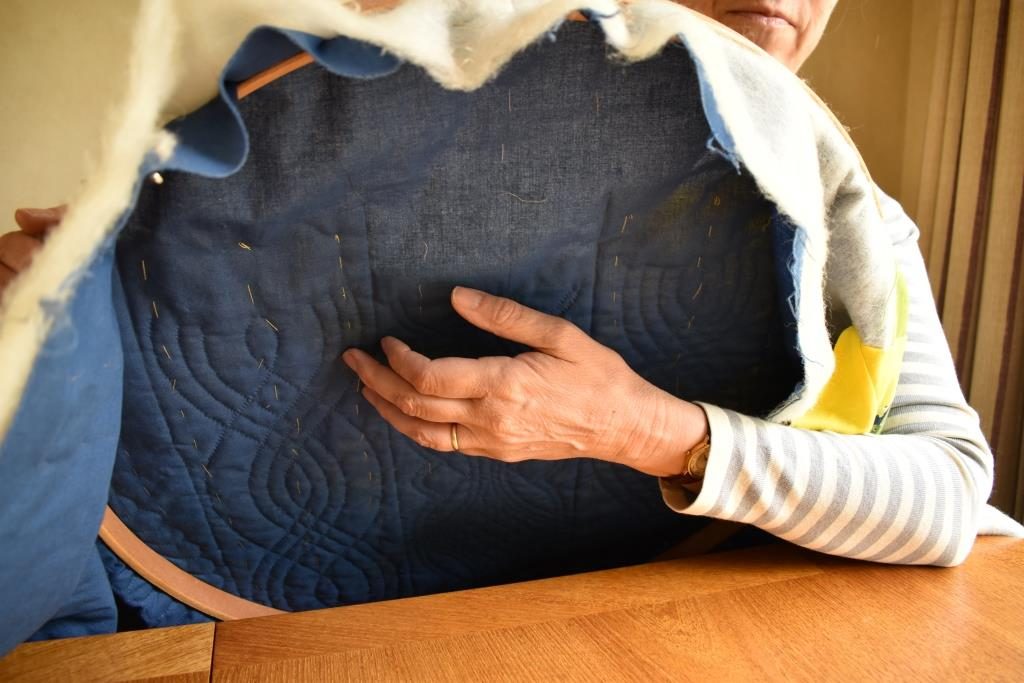
I prefer to use a hoop to hold the part of my quilt that I am working on.
The best hoop to start with is a hand-held hoop – this is not expensive, and you will be able to master the technique and discover whether you enjoy hand quilting, without spending a great deal of money.
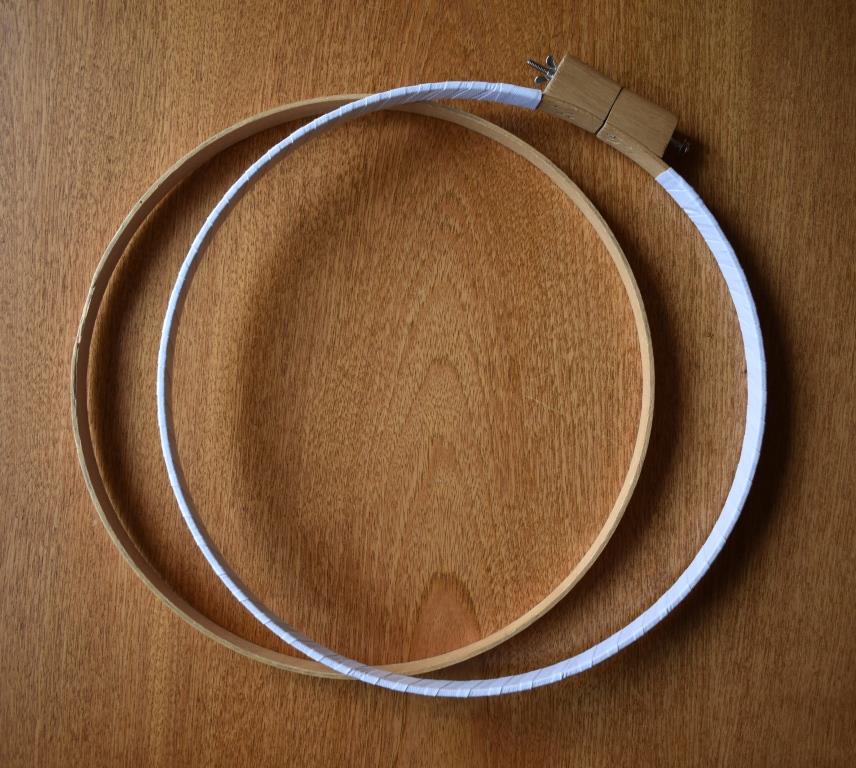
A quilting hoop is similar to an embroidery hoop, but much bigger. It is in two parts; a solid ring and a slightly larger split ring which can be expanded around the thick layers, and tightened with a screw and a wing nut.
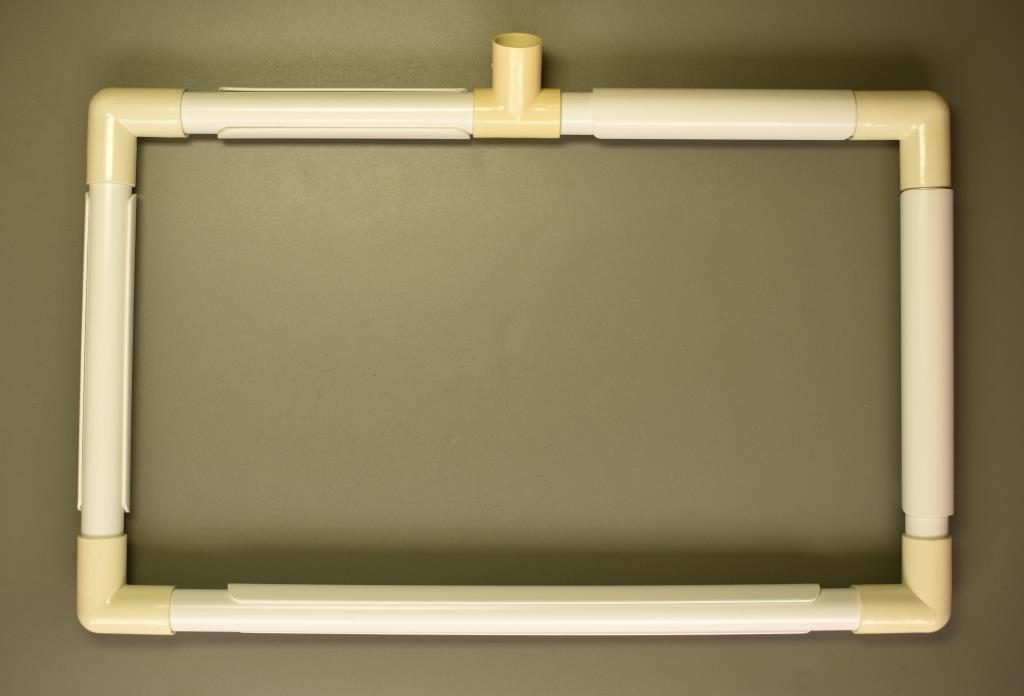
You can also get rectangular, clip frames made from white plastic.
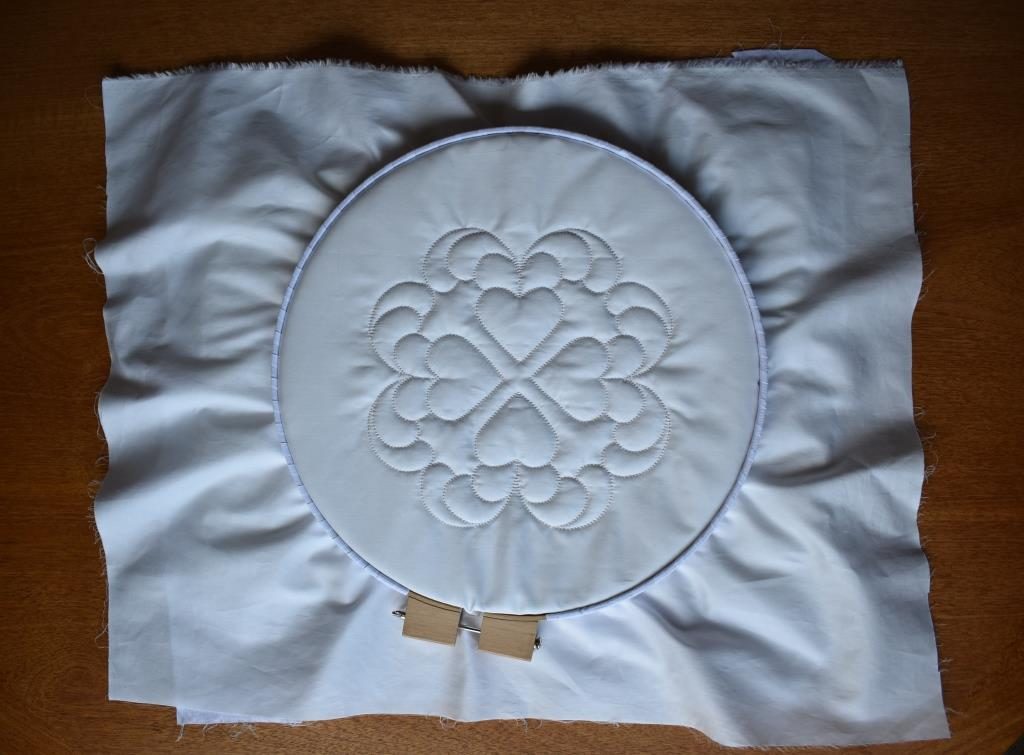
Hoops come in different sizes. A smaller hoop is lighter, and easier to manipulate, but will need to be moved along more frequently. Ideally, the whole of the motif that you are working on should fit within the hoop – remembering that you will not be able to stitch within 1 – 2″ of the hoop.
A larger hoop can be useful if you are stitching long straight lines such as a grid – you will very quickly stitch across the hoop, so a larger hoop means that you can stitch further before needing to move the hoop along. However, it can be more awkward to hold – and you need to check that you can reach easily with your underneath hand to most areas of the working area. This will depend on the length of your forearm from your elbow – my arms are quite long, so I can work in a hoop up to 18″ comfortably, but you will need to check before you buy.
If you can’t manage a larger hoop, try stitching several lines at once, leaving the threaded needles in the work near the edge of the hoop to continue working once the hoop is moved.
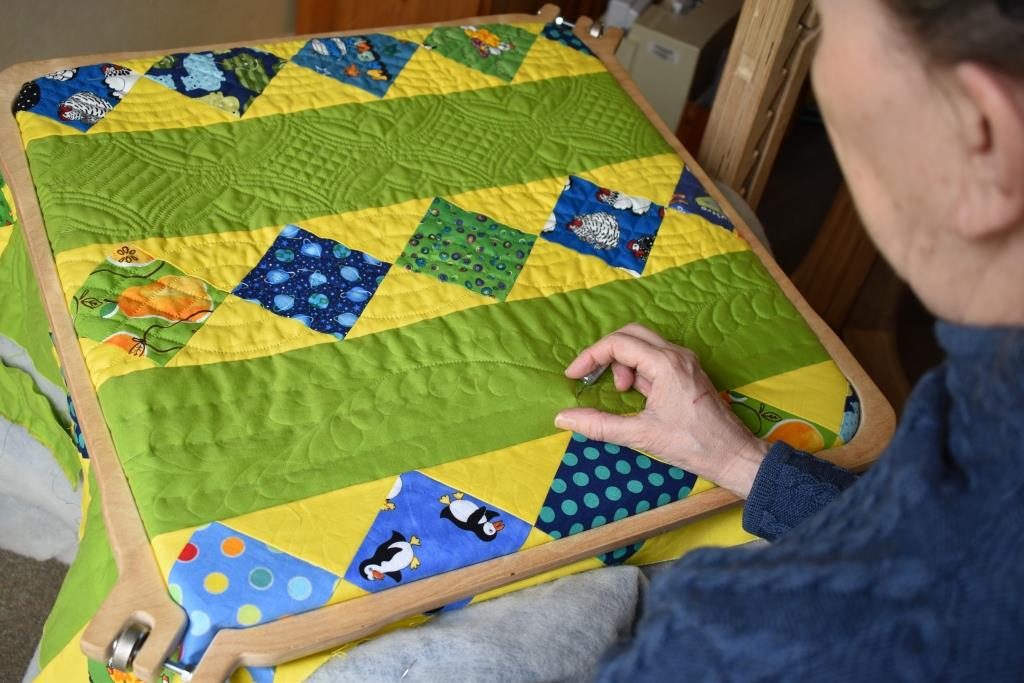
Remember to have enough “spare” of your layered fabrics around the edge of your quilt top to still be held securely in the hoop when you are stitching near the edge and corners. You will need at least 6 – 8″, preferably a bit more, particularly in a round hoop. If you remember, cut your top, wadding and backing fabric and backing fabric to include this extra – can you see there is a semicircle of “spare” beyond the end of my stitching on the project above? However, this can be quite expensive in terms of fabric on a large project, so another option is shown below:
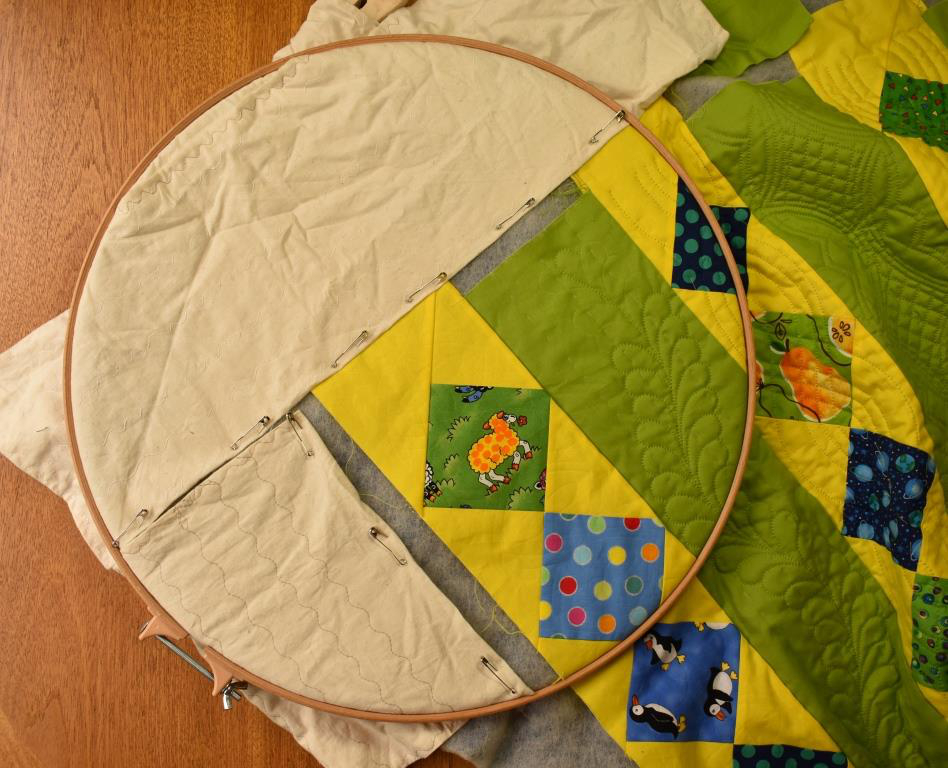
Make one or two small extension pieces using similar fabrics and wadding. These can be safety pinned on temporarily to fill the areas of the hoop beyond the edge of your quilt, as shown above.
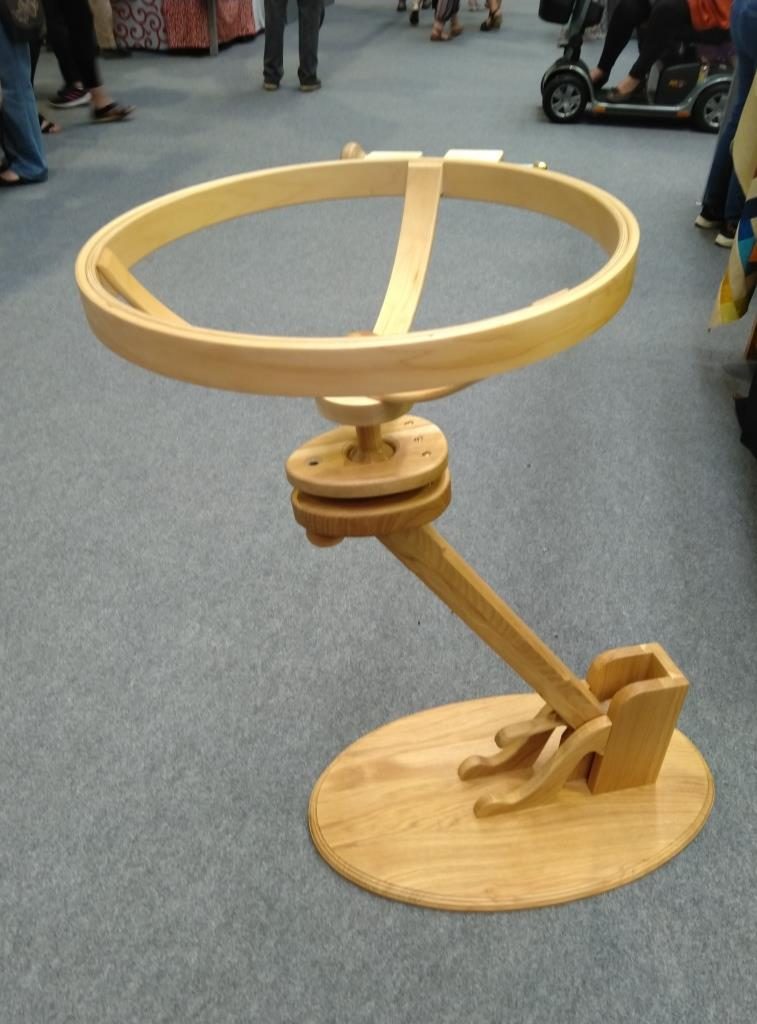
Floor standing hoops
If you discover that you enjoy hand quilting, you may decide to move onto a floor standing hoop, so that your work is supported without you having to hold the weight.
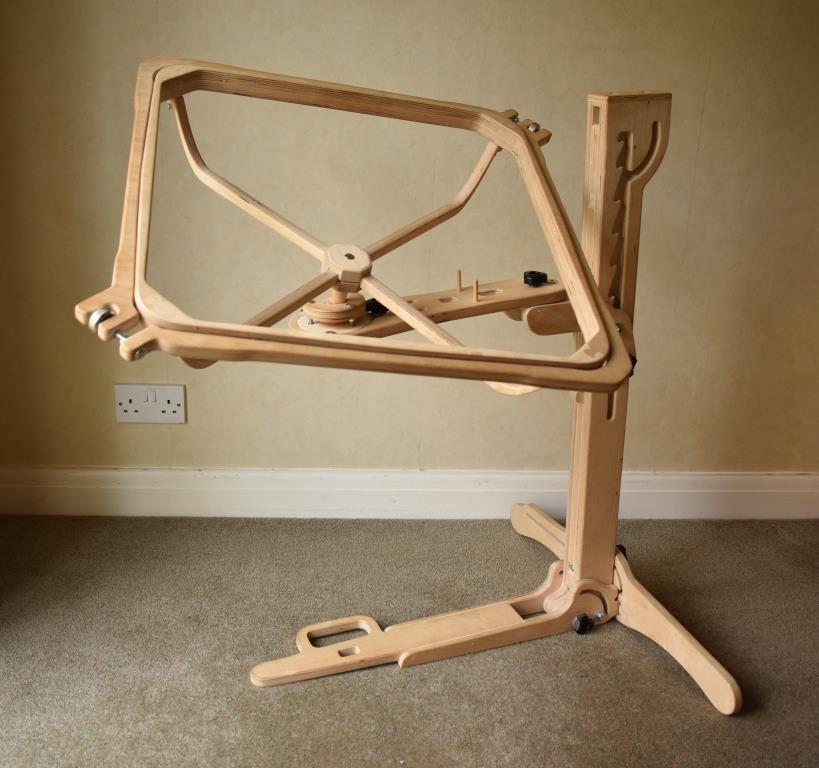
This is much more expensive, but a worthwhile investment. The hoop can swivel round on the central ball bearing, so that the work can be turned in any direction – a bonus if (like me) you find it much easier to stitch in some directions than others!
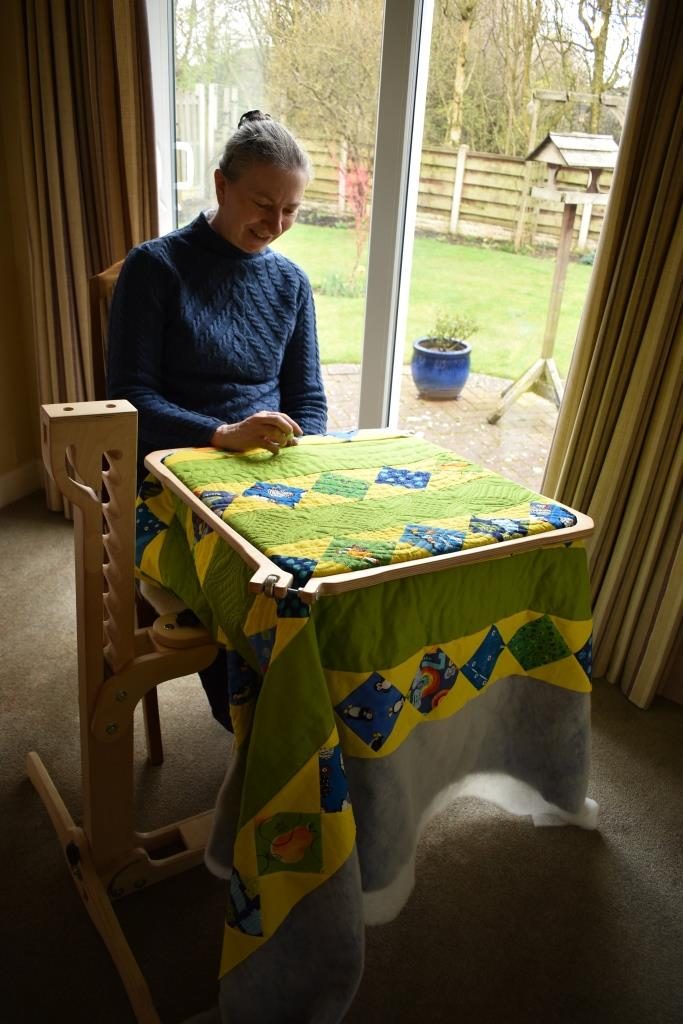
I prefer to work with the hoop almost horizontal, but you can tilt it towards you if that is your preference. It can also be tilted right over if you need to get to the back. You will notice that this “hoop” is fact almost square – this increases the size of your working area, and makes stitching near the edge of your quilt much easier.
Good alternatives include hoops on a shorter stand with a flat paddle that you sit on, or which have a frame or a bean bag that rests on your lap to raise up and support the quilting area.
Most quilt shops don’t keep any of these free-standing frames in stock, which is a nuisance, as it is best to check that you can adjust it to a suitable height and position which is comfortable for you to work. You will probably need to hunt around the internet for one that is new or second-hand. If you discover that a possible supplier is coming to one of the big shows, specifically ask them to bring one for you to try -they are unlikely to bring any otherwise, and if you like it, that will save on postage as well.
A lovely (if pricy) hoop made by Millers Quilting, a German company.
Barnett’s Laptop Hoops from America, also seem very popular
Full size floor frames
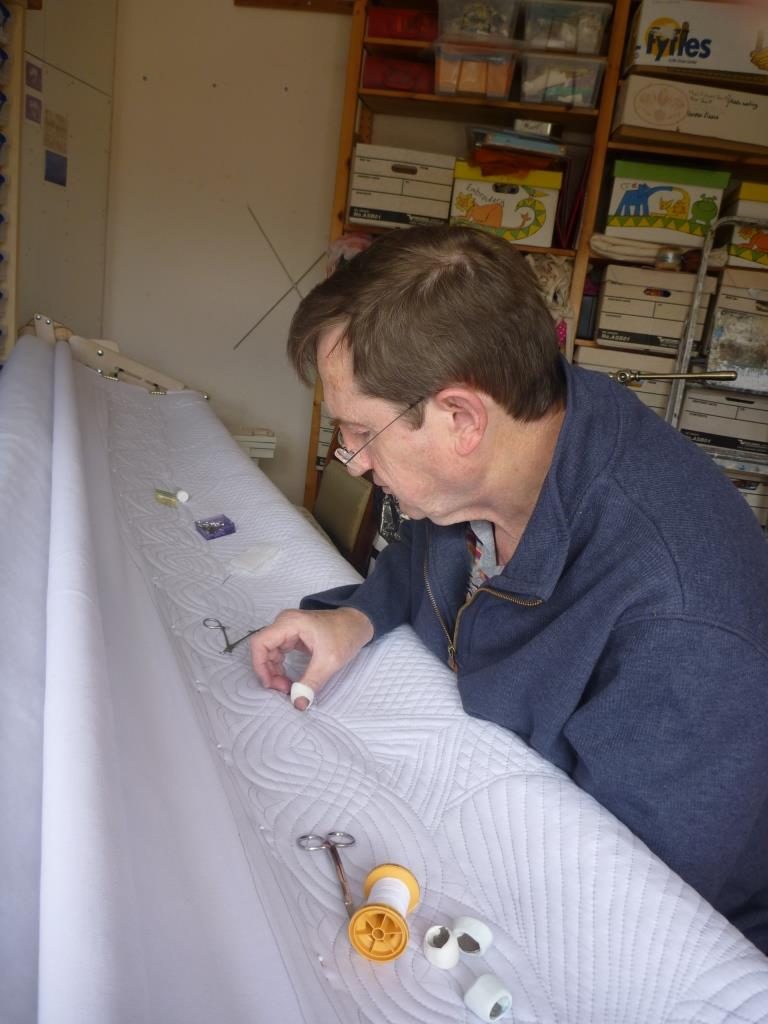
Traditionally, all quilting was done in a large rectangular frame which was the full width of the quilt. The wide strip visible in the frame is quilted, and then the completed area is rolled onto the pole at the front to expose a new area. One big advantage is that tacking (basting) the layers together is not always necessary! However, as you can’t turn the frame round, you need to learn how to quilt in any direction.
Although quite a lot of quilters in the USA still use these (particularly when quilting in a group), most British houses are not large enough to have one set up all the time, and they are not common here.
Aidan Nichol quilting on a full size frame, which only just fits in the room.
He and his wife Margaret worked for months to create an accurate replica of a Georgian wholecloth quilt made by “Joe the Quilter” owned by Beamish Museum.
The equipment that you use to hand quilt can make it easier to obtain good results. Anything takes time to get used to – but if you continue to struggle, try making small changes to see whether that helps.
Quilting Basics
This page is part of a set about Quilting Basics.
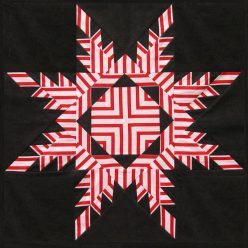
If you would like to try out hand quilting on a small project, the Feathered Hearts download pattern from my online Shop would be suitable.
Click on the links to discover more: