Perfect points in your patchwork instantly draw attention as the hallmark of a good quilter.
How can you achieve this?
Although there are many things to watch when cutting and stitching, it may surprise you to learn that one of the easiest ways to ensure perfect points lies with decisions about which way to press the seams – particularly the diagonal ones.
For the basics of pressing vertical & horizontal seams, click this link – I suggest you read that before this page.
Diagonal Seams
The key is to make sure that wherever seams meet, they must be pressed in opposite directions. This will not only make sure that bulk is reduced to a minimum, but will allow you to “shuffle” the seam allowances so that they sit snugly next to one another. This gives a good line up, creating those perfect points.
See how this works: Part 1 of the video shows the basics of how it works, and Part 2, (further down the page) shows you how to work out the pressing yourself.
The easiest way to understand this for yourself is to make four half square triangle units, and press behind the darker fabric. Now experiment with them as follows:
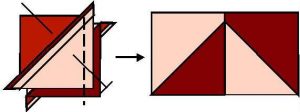
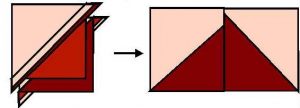
- Take two, and placing them right sides together with the Dark triangles over the Light triangles, “shuffle” the diagonal seams until they nestle snugly together. Pin across the diagonal seam to hold securely in place, and then stitch a seam along the side, which should give a neat meeting of the points.
-
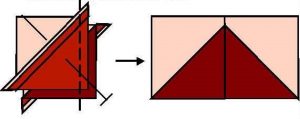
If joining the same colour together, the join will be bulky if both are pressed behind the Dark, and an uneven point will be the result. Now place the other two half square triangle units right sides together with the Dark triangle over the Dark triangle.
The seams are now over each other, making a very bulky join. If this were stitched, any careful lining up is liable to move under the foot, even if pinned, as the machine tries to spread out the sudden bulk. This gives a clumsy point.
- Re-press one of the seams so that it now goes behind the Light fabric. Put back together, and you will find that the seams can now nestle closely again, allowing a perfect point to be made when the seam is stitched.
Planning a whole block
Use this principle whenever joining units with diagonal seams in order to get good crisp points. It’s not difficult to learn how to work out the best pressing direction yourself, but it is best to plan beforehand which way the seams need to be pressed – and this can be quite tricky until you are used to it!
On this second video, see how I think about this for a whole block:
- You may find it helpful to have some more half square triangle units to play with, as many people find it difficult to visualise the connection between the direction of the seam pressing on a flat diagram, and the feel of opposing seams when held right sides together.
The following tips should help:

- You only need to worry about pressing direction of diagonal seams if the two half square triangle units meet to form a point. If the seams are parallel, they don’t meet, so it doesn’t matter which way they go!
-
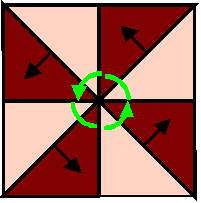
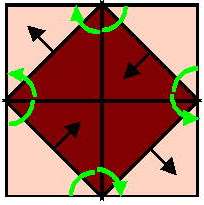
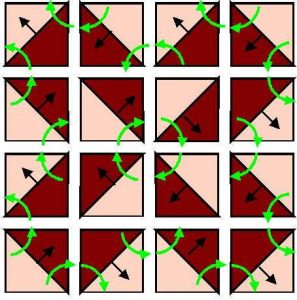
- Looking at a place where the tips of points meet, the diagonal seam directions will appear to spiral round if they are correct.
- If the pattern contains a lot of scattered individual triangles, such as Pinwheel or Broken Dishes,it will have vertical and horizontal seams joining Dark to Light. When making the half square triangle units for these, the diagonal seams need to be pressed either both behind the Dark (this is preferable if possible) or both behind the Light.
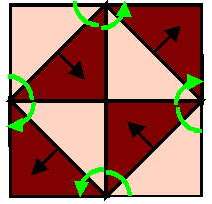
- If the design (such as Square in a Square contains solid areas where vertical or horizontal seams join Dark to Dark or Light to Light, the diagonal seams which meet at the straight seam need to pressed so that one is pressed behind the Dark, and one is pressed behind the Light.
Blocks to try out
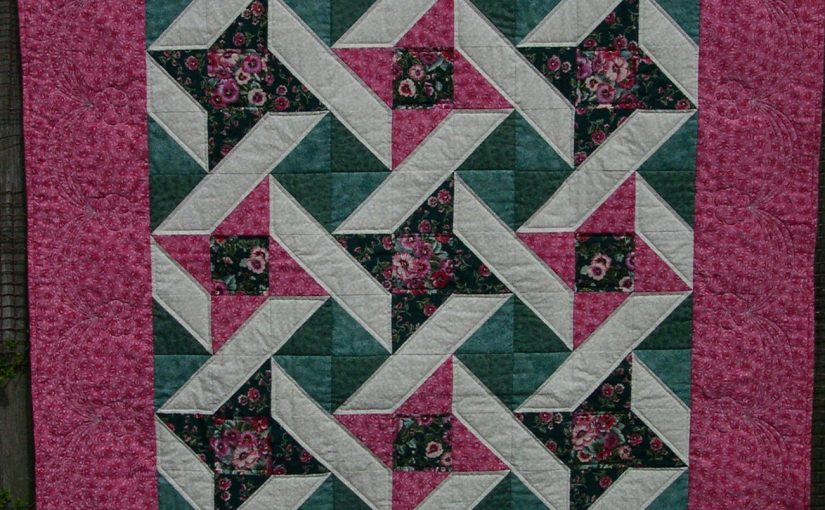
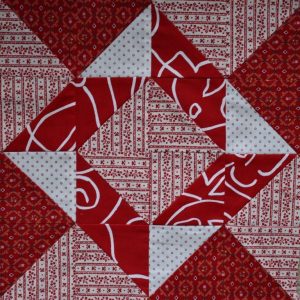
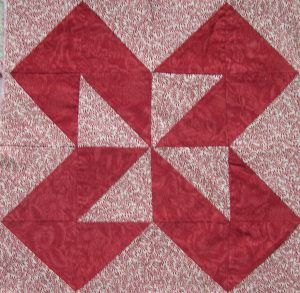
- Many designs such as Windblown Square or Star Puzzle contain both sorts of joins, so all the rules need to be used together.
- Try out the process for yourself – or download this free worksheet with the instructions to practice making these blocks yourself.
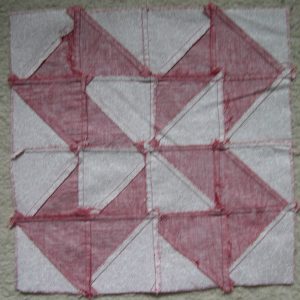
- Using a pen, draw out the whole block with the units separated, and then (using a pencil now) draw arrows on the diagonal seams to show which way to press them.
- Do the awkward places where lots of points join first, and this will dictate where the others go.

-
- Remember to look at the places where the diagonal seams meet. The pressed seams need to spiral around here.
- Make sure that you look at both ends of each diagonal seam
- If you have drawn your block in pen, and done the working out of the pressing direction in pencil, you can rub some out and adjust them if needed.
- Now lay out your half-square triangle units exactly as in the diagram. Pick two neighbouring units up, and place them together as if you were going to sew the seam.
- Do the diagonal seams meet pressed in opposite directions? Good – now check another pair.
- Now stitch the block together. To avoid turning units round by mistake, or stitching the wrong seam, “string piece” them together. If you don’t know how to do this, click on this link which will take you to guidance and another video.
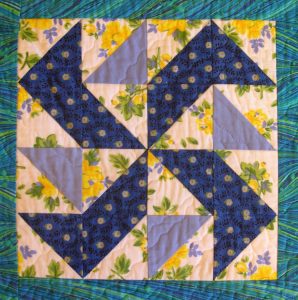
Here is another block: Star Puzzle. Why not draw this one out, and have a go yourself, before checking against mine?
- It may sound obvious, but remember that a seam cannot be pressed behind the Dark at one end and behind the Light at the other!
- If you get stuck, remember that you can always change both seam directions at any junction without causing a problem – i.e. change Dark/Dark to Light/Light, or Dark/Light to Light/Dark.
There is a free download of all the guidance about which way to press the seams – why not print it out, save it on your computer and keep to use whenever you tackle a new project?
If you would like to try out these ideas, but are not confident about planning the pressing of a block yourself, then why not try making this little Double Cat block? You can download the pattern free with lots of hints and tips – click here.
Have a look at the projects in my Shop as all of the patterns I sell have the pressing pre-planned for you.
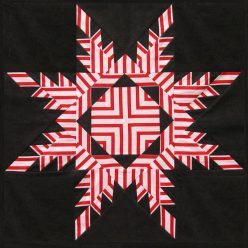
Other projects which would be suitable are Friendship Star, Jack-in-a-Box and Catherine Wheel .
Or, have a look at my other designs on the Wallhangings page. If the download pattern for one which you like is not yet available, then Contact Me.